Set up your workspace (onboarding)
The first-run flow that names your workspace, sets your timezone and address, configures your agent, and creates your first form.
When you first sign up, Jambo Contact walks you through a guided onboarding before opening the full dashboard. You can skip optional steps and finish them later from Settings.
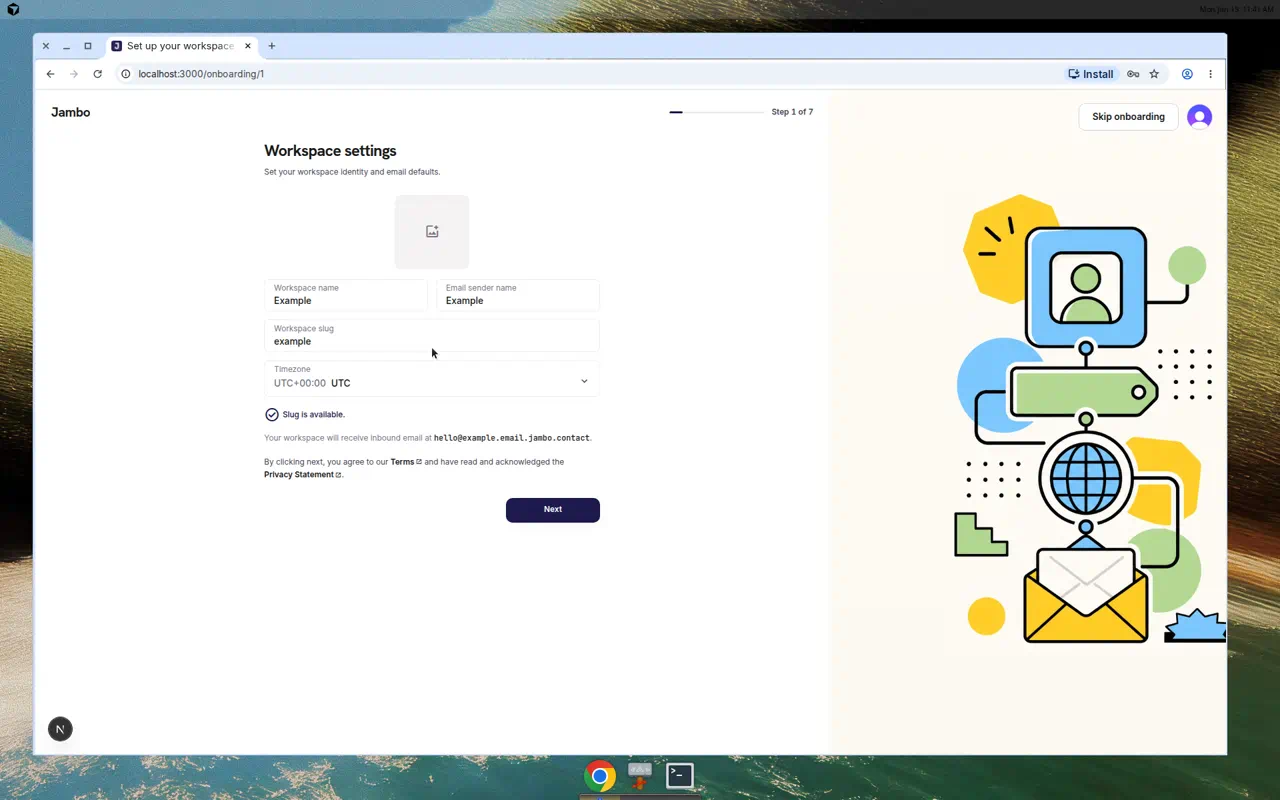
The onboarding steps
- Welcome — a short intro screen. Click continue.
- Workspace settings — set your Workspace name, Email sender name, Workspace slug, and Timezone, and upload a logo.
- The Workspace slug becomes part of your managed email address and hosted form URLs. You are asked to confirm it ("Lock in your workspace slug?") because it is treated as permanent.
- About you — your First name, Last name, and Phone number.
- Business address — your address fields. You can Skip this.
- Agent setup — give your AI agent a name, portrait, and "soul" (its operating description). See Configure your AI agent.
- First form — create your first lead-capture form. You can skip and build one later.
- Routing — choose how submissions to that first form are handled. You can skip this too.
- How you'll use Jambo — pick the intents that match your goals (e.g. Lead management, Customer support, Client intake & onboarding), plus a short industry/role survey. This completes onboarding.
If your user account belongs to more than one workspace, you may first see a workspace picker before onboarding begins.
After onboarding
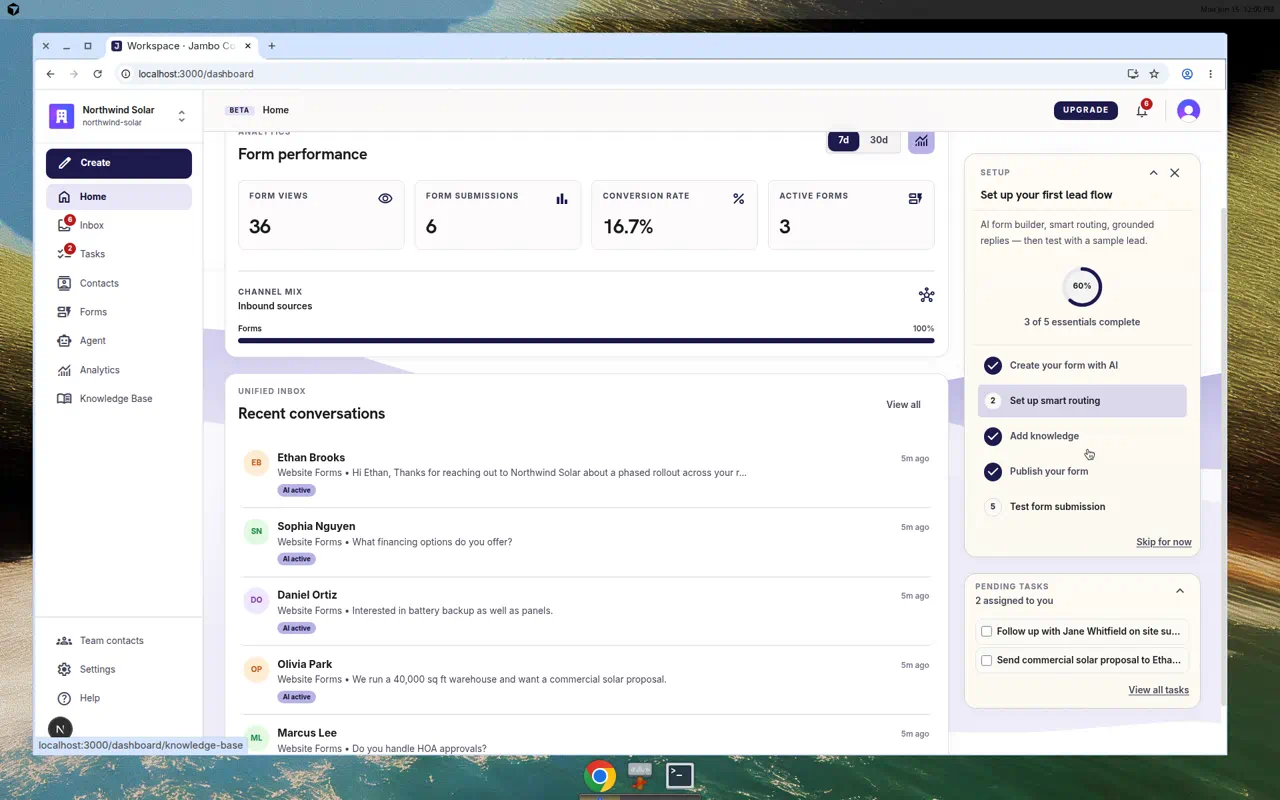
You land on the dashboard home, which shows a setup checklist, analytics, and recent conversations. Anything you skipped can be completed from:
- Settings → Workspace (name, timezone, address, branding)
- Settings → Agent (agent identity and behavior)
- Forms (create more forms)
More in Getting started